Ordering a sample from a Chinese leather bag factory sounds straightforward — you describe what you want, they make it, you inspect it. In practice, the sample stage is where most sourcing relationships either earn trust or reveal problems that will compound at scale. Getting it right requires understanding what you are actually paying for, what the factory is committing to, and how to evaluate what arrives.
This guide covers the full leather bag sample process: what types of samples exist, how to communicate your requirements clearly, what realistic costs and timelines look like, and the specific inspection points that predict whether a factory's production quality will hold up across a full order.
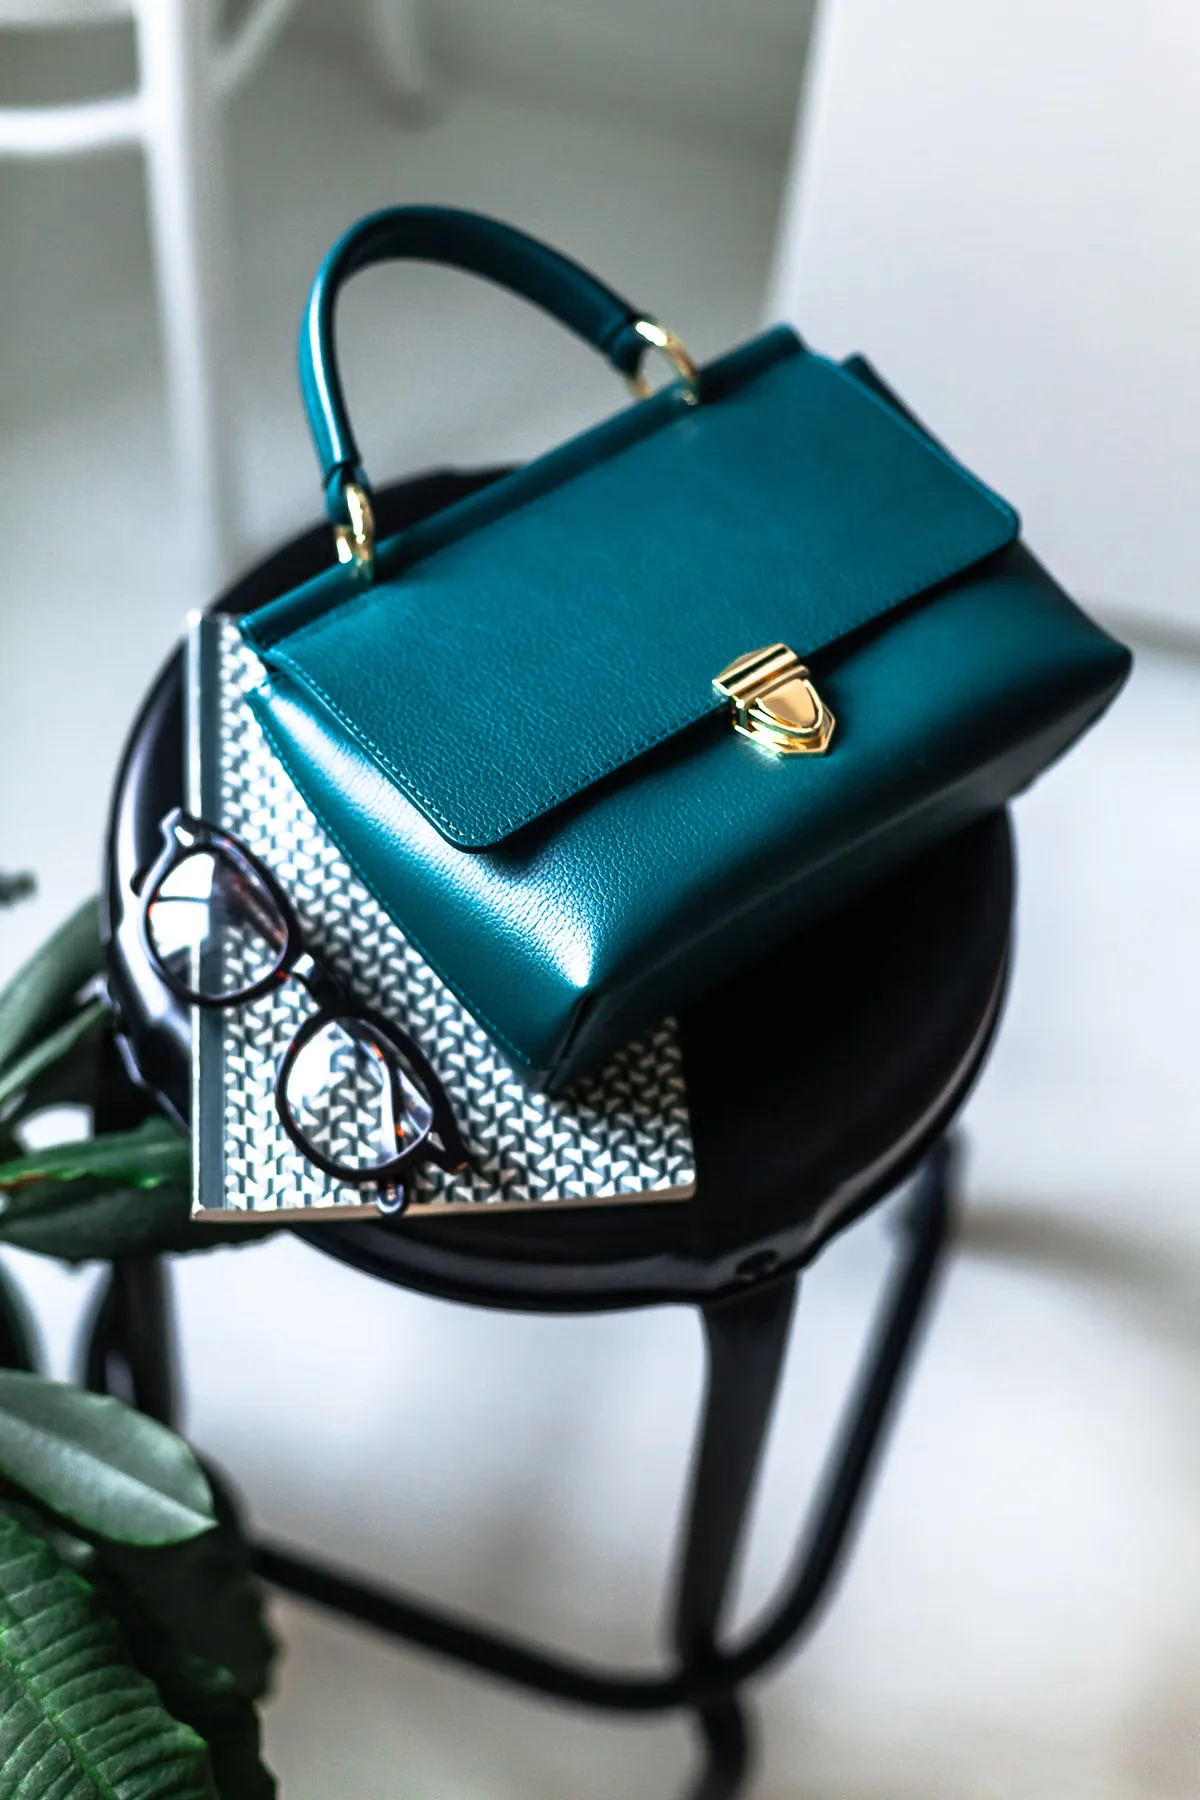
The Three Types of Leather Bag Samples
Not all samples serve the same purpose, and confusing them creates misaligned expectations on both sides of the factory relationship.
Reference Samples (Existing Stock)
These are bags the factory already produces — catalog items they can ship within days. Reference samples are useful for assessing a factory's baseline quality level, stitching standards, hardware quality, and material options before you commit to custom development. They are typically provided free or at a nominal charge because no new production work is required.
What reference samples tell you: general production quality, material handling, finishing standards, hardware function. What they do not tell you: how accurately this factory executes designs they have not made before, or how consistent they are across a production run of your specific style.
Development Samples (Proto Samples)
Development samples are the first physical attempt at your specific design. The factory works from your tech pack, sketch, or reference bag to produce one to three units. These samples exist to validate the design concept and identify structural or construction problems before you invest in production tooling and bulk material.
Development samples almost never look exactly right on the first attempt. Expect to go through at least two rounds — sometimes three — before you have a design you are ready to approve. This is normal, not a sign of a poor factory. The value of the development sample stage is catching problems cheaply, before they become expensive production problems.
Cost: typically USD 50–300 per sample unit depending on complexity, plus any tooling costs (cutting dies, custom hardware molds). Most factories allow the sample cost to be deducted from your first production order payment — ask for this explicitly at the outset.
Timeline: 7–14 days for the first proto sample from an established factory with in-house pattern making capability. Allow 21–28 days if the design is complex or requires custom hardware development.
Pre-Production Samples (Salesman Samples / Counter Samples)
Once the development sample is approved, you may request a pre-production sample — a unit produced under actual production conditions, using the confirmed bulk materials, hardware, and lining. This is the definitive reference sample against which your bulk production will be compared.
The pre-production sample should be signed off by both buyer and factory and physically retained by both parties. It becomes the acceptance standard for your QC inspection. Any deviation from the pre-production sample — in color, material, stitching density, hardware finish, or construction method — is a legitimate basis for rejection at the production inspection stage.
How to Communicate Your Requirements Clearly
The quality of the sample you receive is largely determined by the quality of the brief you provide. Factories work from what you give them. Vague briefs produce vague samples.
The Tech Pack
A complete tech pack for a leather bag includes:
- Technical drawings: front, back, side, top, and interior views with dimensions in millimeters. Include a scale reference.
- Material specification: leather grade (full-grain / top-grain), hide type (cowhide / lambskin), thickness in mm, finish type (aniline / semi-aniline / pigmented), and color reference (Pantone code or physical swatch)
- Hardware specification: zipper brand and gauge (YKK #5 is a standard reference), clasp type and finish, D-ring size, foot specification
- Lining specification: fabric type, weight, color, and any pocket layout details
- Stitching specification: thread color, stitches per inch (SPI), thread type (polyester / nylon)
- Branding requirements: logo placement, embossing depth and area, label type and placement
If you do not have the design capability to produce a full tech pack, the next best option is a reference bag with written annotations describing what you want to change. Factories that work with international buyers regularly are experienced at interpreting annotated reference bags and asking clarifying questions.
Color Communication
Never describe leather color in words alone. "Camel," "cognac," "tan," and "butterscotch" mean different things to different people and different things in different lighting conditions. Always provide either a Pantone reference from the Leather Color palette (not the standard Pantone textile palette — leather dye behavior is different), or a physical leather swatch. If neither is available, approve a color sample from the factory's existing leather stock before production begins.
Hardware Sourcing Direction
State clearly whether you want the factory to source hardware from their existing suppliers, or whether you are providing approved hardware. If you have specific hardware requirements — a particular zipper pull shape, a branded clasp, a custom D-ring size — communicate this at the outset. Custom hardware development adds 4–6 weeks to the sample timeline and has its own MOQ (typically 200–500 pieces per hardware SKU).
What Realistic Sample Costs Look Like
Sample costs vary significantly by factory size, design complexity, and material specification. These ranges reflect mid-size OEM/ODM factories in Guangzhou, Hangzhou, and Wenzhou — the primary leather goods manufacturing clusters in China:
- Simple crossbody or clutch: USD 60–120 per development sample
- Mid-complexity tote or shoulder bag: USD 100–200 per development sample
- Structured top-handle bag with custom hardware: USD 180–350 per development sample
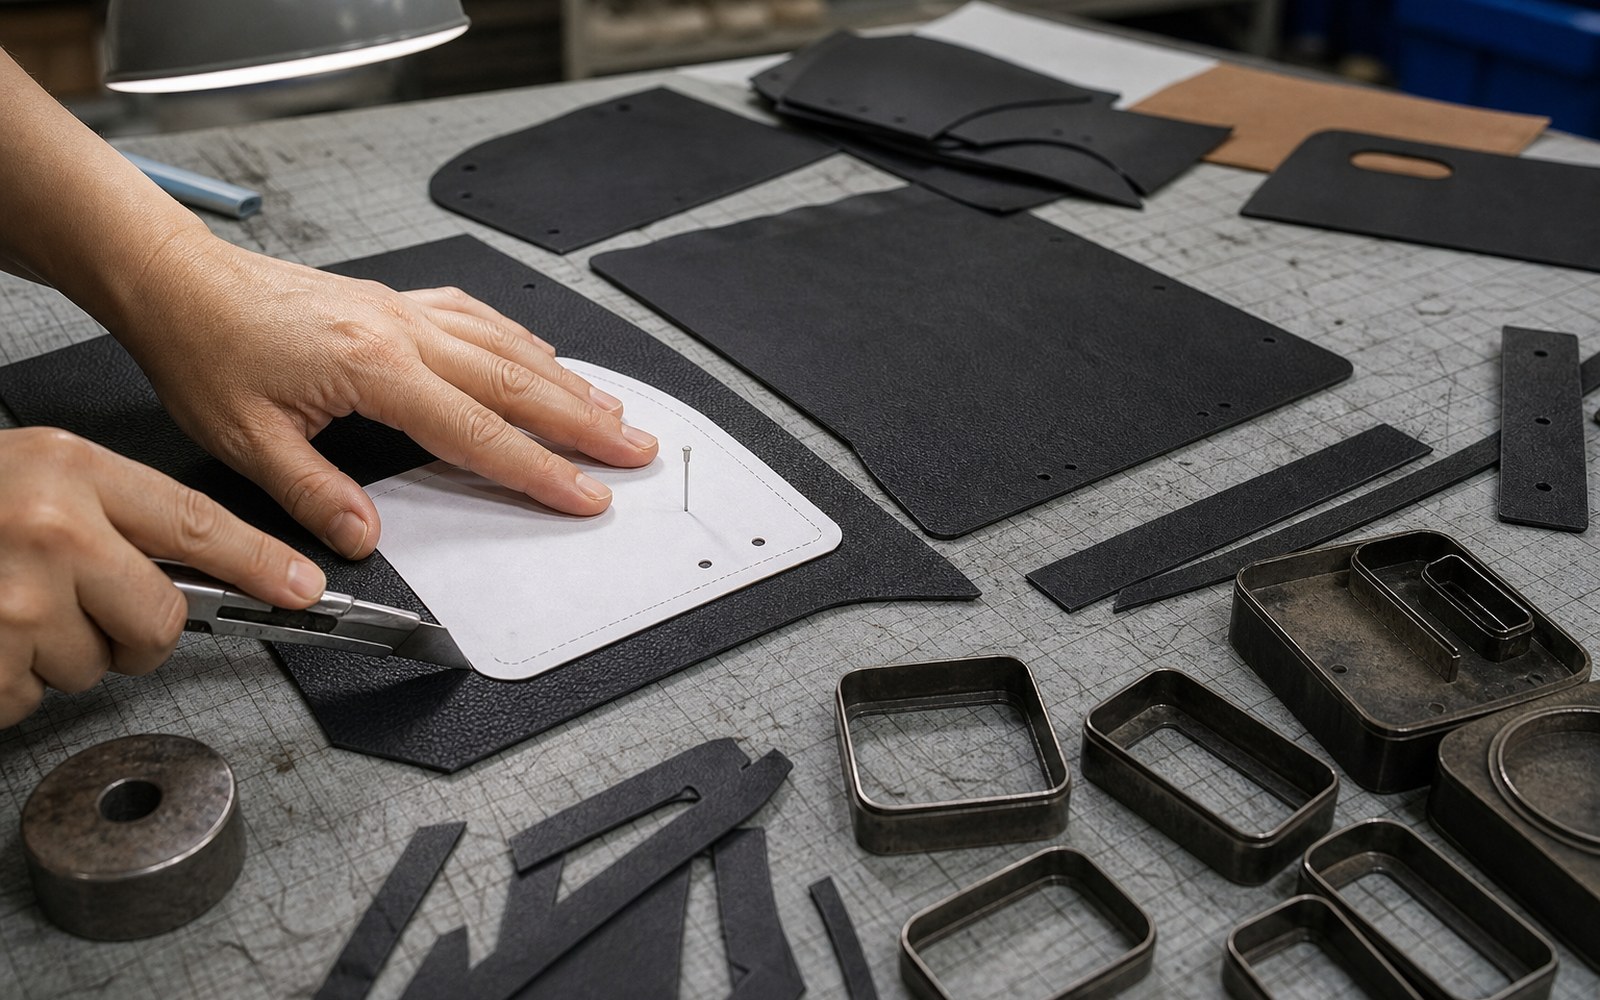
- Cutting die tooling: USD 150–400 per style (one-time cost, amortized over production)
- Custom hardware mold: USD 300–800 per hardware piece (significant upfront investment; only warranted for large orders)
Be cautious of factories that offer to provide development samples at no cost. The development sample represents real skilled labor time. When a factory absorbs this cost entirely, they are either subsidizing it from elsewhere (often by cutting corners on material quality) or intending to recoup it through inflated production pricing. A nominal sample charge is a sign of a factory that values its production capabilities at market rate.
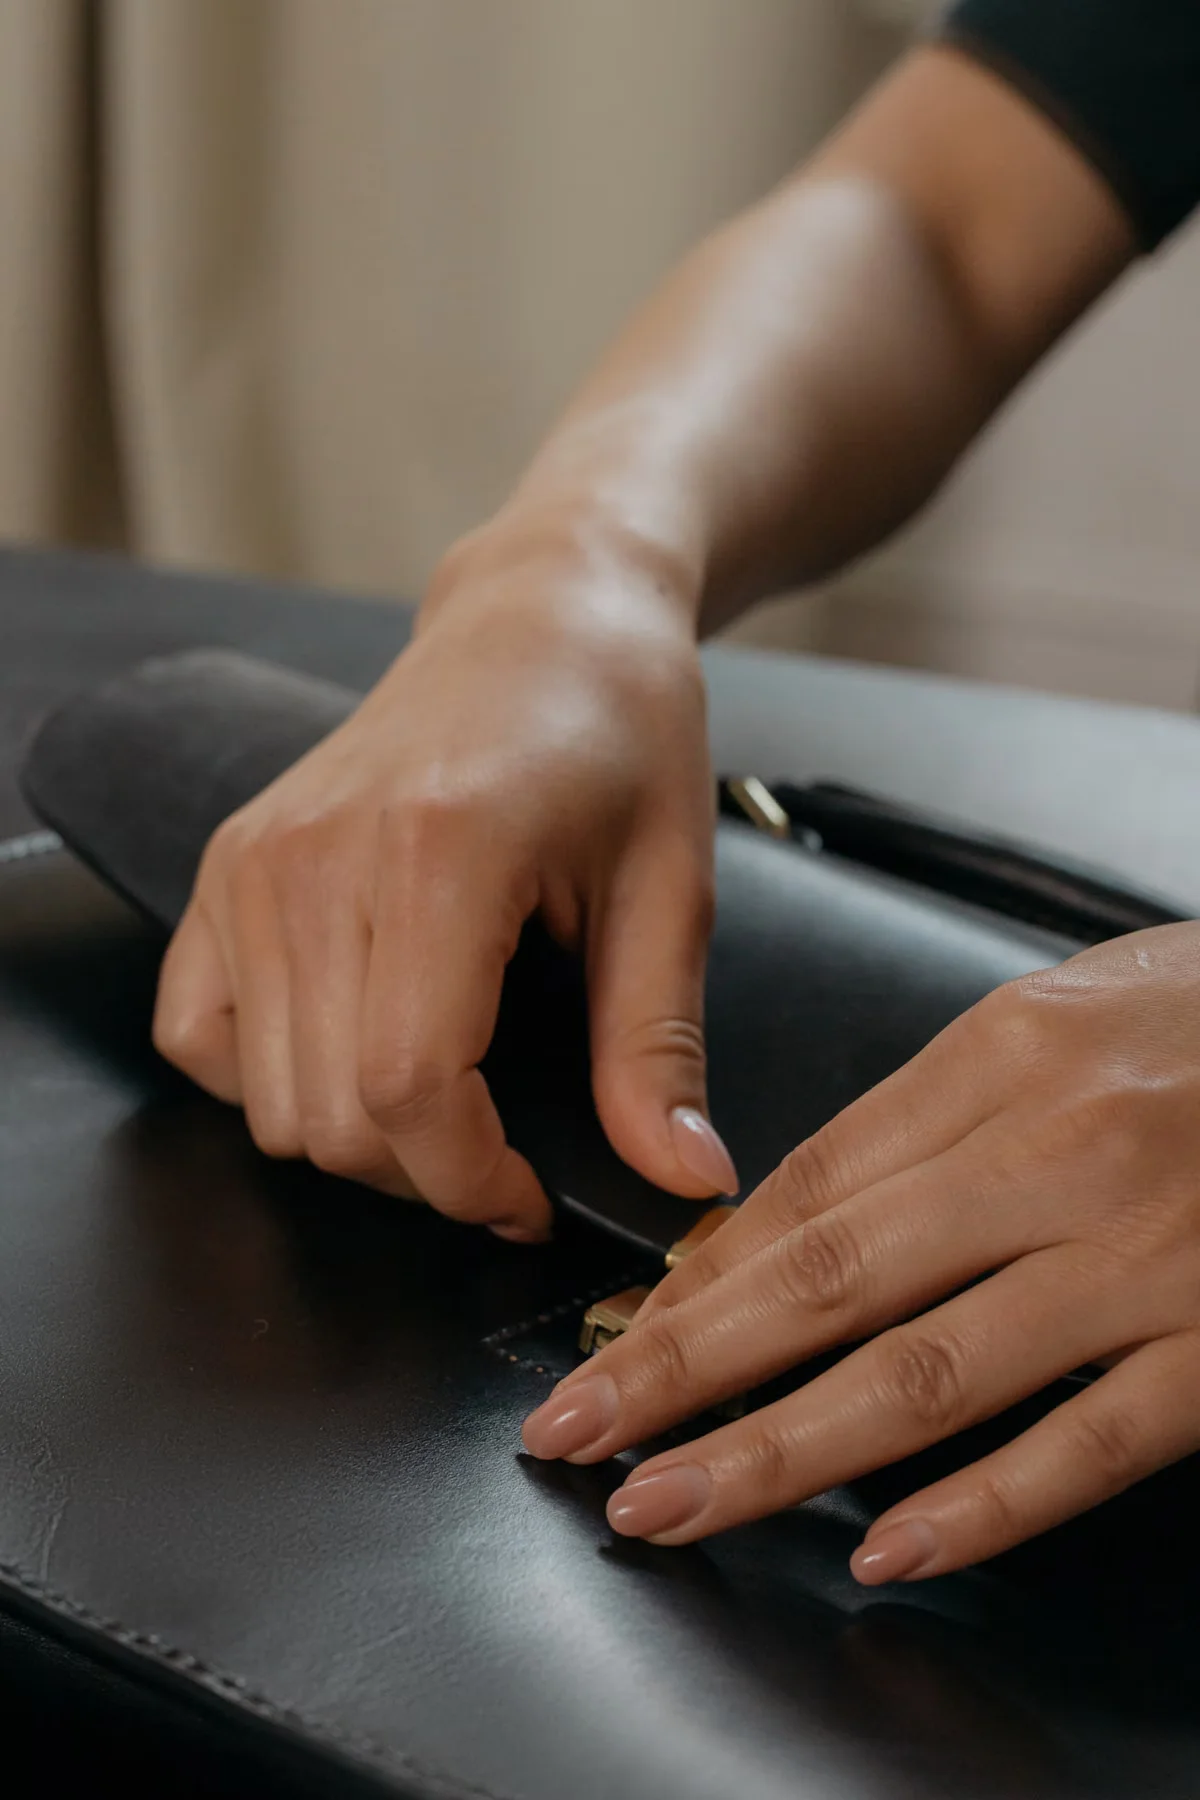
How to Inspect a Sample When It Arrives
Most buyers open a sample, look at it generally, and form an overall impression. This approach misses the specific construction details that predict production quality at scale. Work through this inspection sequence before approving any development sample for production.
Leather Surface and Material
First, verify that the material is what was specified. Full-grain leather has natural grain variation and no surface uniformity — slight color depth differences and minor natural marks are expected and desirable. Top-grain has a more consistent surface with a light coating. Genuine leather has a very uniform, often slightly plasticky surface feel. If you specified full-grain and received top-grain, that is a specification failure worth addressing before production.
Check the leather thickness by flexing a panel between your fingers. It should have consistent resistance across the panel — thin spots indicate hide quality issues or cutting from the belly area of the hide, which has looser fiber structure and lower durability. For a medium tote bag, body panels should be 1.2–1.4mm; handles and straps typically 2.0–2.5mm.
Stitching Quality
Count the stitches per inch on a straight seam. Standard for leather goods is 7–10 SPI depending on leather weight; lighter leather typically uses finer stitching. Check that stitch length is consistent across the full seam length — inconsistency indicates tension calibration problems on the sewing machine. Examine corner stitching closely: the thread should turn cleanly at corners without pulling or puckering the leather surface.
Pull gently on a seam with both hands (do not tear, just apply light tension) and look for thread movement. Properly locked stitches will not shift under moderate tension. If thread slides visibly under light pull, the stitch locking is inadequate.
Hardware Function and Finish
Test every piece of hardware through its full range of motion: open and close zippers in both directions, engage and release clasps ten times each, extend and retract adjustable straps, and spin any swivel hardware through a full rotation. Hardware should operate smoothly with consistent resistance — not too stiff, not loose enough to open accidentally. Check hardware finish consistency: plating should be uniform with no thin spots, bubbling, or color variation.
Edge Treatment
Examine every leather edge — handle edges, panel edges, strap edges, and pocket edges. Premium finishing shows smooth, even edge paint with no bleed onto the leather face and no raw fiber visible. Run your fingernail lightly along an edge: it should glide smoothly. Rough or fibrous edges indicate inadequate edge painting or skipping of the burnishing step.
Interior Construction
Open the bag fully and examine the lining attachment at every corner and pocket opening. Lining should sit flat without puckering or gaps where the fabric is not fully adhered. Press on the bag base from inside — there should be no movement of any structural insert. Check interior pocket stitching at the top corners of pocket openings, which are high-stress points; seams here should have a bar tack or reinforcing stitch.
Communicating Sample Feedback Effectively
How you communicate sample feedback determines how accurately the factory can address it. Vague feedback — "the quality looks low" or "it does not feel right" — gives the factory nothing concrete to act on. Specific feedback with reference points gives them a clear action list.
Structure your sample feedback as a numbered list, with each item specifying: the location on the bag, the specific issue, and the required correction. For example:
- "Handle attachment at left front corner: stitching is uneven, SPI drops from 8 to 5 at the turn. Required: consistent 8 SPI through corner."
- "Interior zip pocket: lining at top right corner is not adhered and shows a 15mm gap. Required: full adhesion with no visible gap."
- "Hardware: front clasp closes but requires more force than the reference sample. Required: match reference sample resistance."
Accompany written feedback with photographs that clearly show each issue. Use close-up shots with a ruler or coin for scale when the problem involves dimensions. Send feedback within five business days of receiving the sample — factories track active projects and a sample that goes without feedback for more than ten days may drop in priority.
When to Approve and When to Request Another Round
The decision to approve a sample or request another revision should be based on concrete criteria, not general satisfaction. Approve when: all specified materials and hardware match the specification, all stitching meets the SPI and consistency standard, all hardware functions correctly through ten cycles, all edges are cleanly finished, and the interior construction shows no defects at stress points.
Request another revision when: any material substitution was made without prior authorization, stitching shows consistent pattern failures (not isolated anomalies), hardware does not meet functional specifications, or the overall dimensions deviate more than 5mm from the tech pack.
A factory that addresses specific, documented feedback accurately and promptly in the revision round is demonstrating exactly the quality management capability you need in a production partner. The sample stage is, in part, a test of the factory's responsiveness — which is a direct predictor of how they will behave when you have an issue during a bulk production run.
B2B Buyer Checklist
Before you request a quote, prepare the information that affects MOQ, sample cost, lead time and final unit price.
- Target product category, size and reference images.
- Expected order quantity per style and per color.
- Material preference, lining requirements and hardware finish.
- Logo method, packaging items and delivery country.
- Target retail price or target factory price range.
Decision Table
| Buyer Question | Why It Matters | What to Send the Factory |
|---|---|---|
| What is my MOQ target? | MOQ affects material sourcing, production planning and unit price. | Quantity per style, per color and launch schedule. |
| Which material should I choose? | Material controls price band, durability and brand positioning. | Reference photos, desired texture and target market. |
| How much customization do I need? | Logo, lining, hardware and packaging change sample time and cost. | Logo files, packaging references and required details. |
| What is my delivery deadline? | Sampling, production and shipping need realistic planning. | Launch date, delivery country and preferred shipping method. |